Start the GridGain streaming demo
Start a two-node GridGain 8 cluster, connect it to Control Center, and launch the streaming demo application.
The GridGain Streaming Demo starts a sample application that simulates stock-exchange trading activity. The application generates market orders locally and streams them to a running GridGain cluster, so no Internet connection is required.
In this first part of the tutorial, you start a two-node GridGain 8 cluster in Docker, activate it, start a local GridGain Control Center instance, register the cluster with it, and launch the application that streams market orders into the cluster. Everything runs locally on your machine.
What you need
Required:
- Docker 20.10 or later with Docker Compose V2
- Git 2.24 or later
- A GridGain Ultimate license file for the cluster (see the license note below)
- A GridGain Control Center license, which you upload to Control Center the first time you open it
Optional:
- A Java Development Kit (JDK) 8 or later and Apache Maven 3.3 or later, only if you want to build the application outside Docker. Docker builds it from source for you, so the standard steps need only Docker.
Download the streaming demo
First, download the demo project to your machine:
-
Either download and unzip the source repository, or clone it with Git:
git clone https://github.com/GridGain-Demos/ignite-streaming-monitoring-demo.git -
Go into the project root directory:
cd ignite-streaming-monitoring-demo
Start the GridGain cluster
This demo runs GridGain Ultimate Edition, so the cluster needs a license file. Place your GridGain Ultimate license at config/gridgain-license.xml; the demo's docker/ignite-cluster.yaml mounts it so the nodes load it on startup. The license file is specific to your environment and is not included in the repository.
Start a two-node GridGain cluster, with each node running as a separate container:
docker compose -f docker/ignite-cluster.yaml up -d --scale ignite-server-node=2
Each node is configured with a 150 MB off-heap data region for cached data and uses native persistence to store records on disk. Each node writes its persistence to its own Docker volume, so the two nodes do not share a storage directory. For other settings, see config/ignite-config-node.xml and docker/ignite-cluster.yaml.
The demo uses the multi-architecture gridgain/ultimate:8.9.34-openjdk17 image, which Docker resolves to the build for your CPU (Intel/AMD64 or Apple Silicon). You do not need to change the image tag for your architecture.
Activate the cluster
Because the nodes use native persistence, the cluster starts in an inactive state and must be activated before it can hold data. Activate it from inside the first node:
docker exec docker-ignite-server-node-1 /opt/gridgain/bin/control.sh --set-state ACTIVE --yes
The command reports Cluster state changed to ACTIVE. You activate the cluster only once; it stays active across restarts as long as its persistence volumes remain.
Start GridGain Control Center
In the rest of the tutorial, you use GridGain Control Center as the main management and monitoring tool. The demo includes a Control Center deployment that runs locally in Docker, on the same network as the cluster.
-
Start the Control Center backend and frontend:
docker compose -f docker/control-center.yaml up -d -
Open Control Center in your browser at http://localhost:8008.
-
The first time you open Control Center, create an administrator account. On first start, the backend logs a one-time sign-up link. Print it with:
docker logs control-center-backend | grep -A1 "register the first administrator"The link is logged with the backend's internal port
3000, for examplehttp://localhost:3000/auth/signup?adminToken=.... Replace3000with8008to open it in your browser, then complete the sign-up form. -
When Control Center prompts for a license, upload your GridGain Control Center license. Control Center requires a license before it can monitor a cluster.
The account and license steps are one-time setup. If you have already set up this Control Center and restarted it with start rather than down followed by up, it keeps your account and license. In that case, skip those steps and sign in with your existing account.
Register the cluster with Control Center
The cluster's Control Center agent is already configured (in docker/ignite-cluster.yaml) to connect to the local Control Center, so you only need to register the cluster with a one-time token.
-
Generate a registration token from the first node:
docker exec docker-ignite-server-node-1 /opt/gridgain/bin/management.sh --tokenThe command prints two ways to register the cluster: a browser link and, separately, the same token for manual entry. The relevant part of the output looks like this:
Open the link in a browser to monitor your cluster:http://control-center-frontend:8008/go/xxxxxxxx-xxxx-xxxx-xxxx-xxxxxxxxxxxxIf you are already using Control Center, you can add the cluster manually using a one-time token:xxxxxxxx-xxxx-xxxx-xxxx-xxxxxxxxxxxxNOTE: the token will expire in 5 minutes. -
Use the browser link (the first option), not the manual token. Copy the link, replace the container host name
control-center-frontend:8008withlocalhost:8008, and open the result in your browser:http://localhost:8008/go/xxxxxxxx-xxxx-xxxx-xxxx-xxxxxxxxxxxxBecause you are already signed in to Control Center, opening the link registers the cluster and shows its dashboard. The token expires five minutes after you generate it; if it has expired, run the command again for a new one.
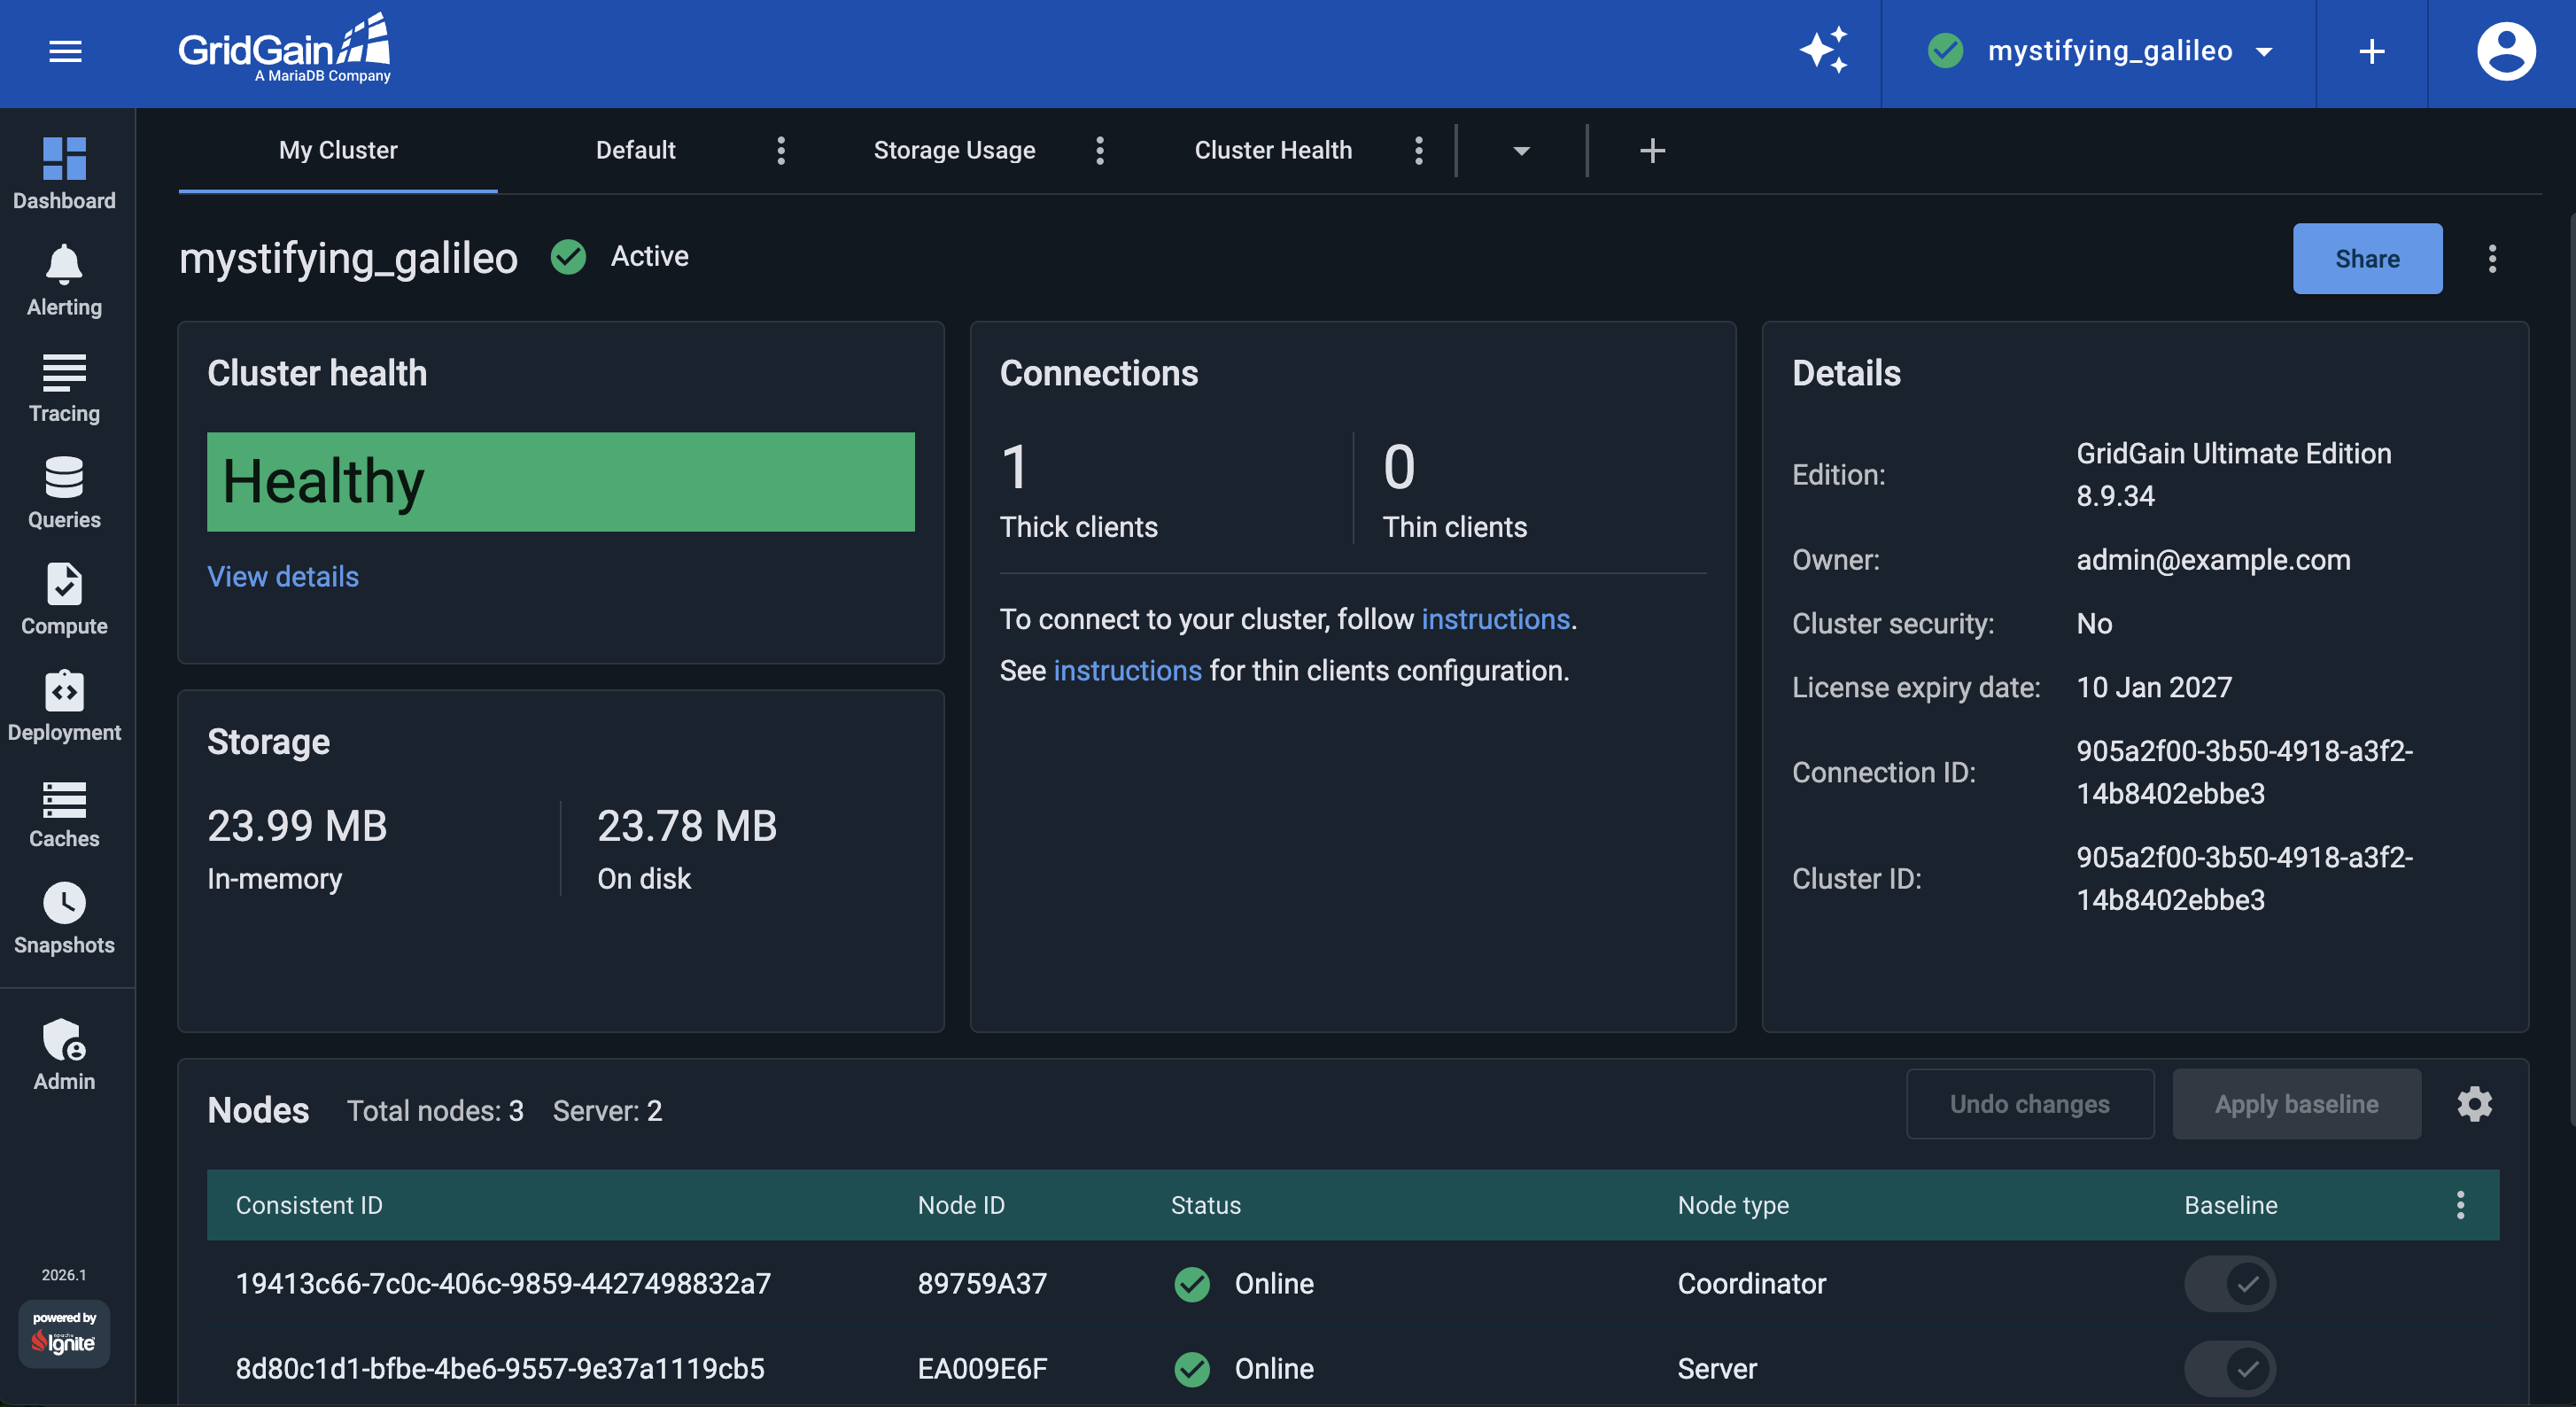
You should now see a dashboard similar to the following, reporting two server nodes and a healthy cluster:
Launch the market orders application
In the final step, you build and start the application that streams market orders into the cluster. Docker compiles the application from source and starts it with a single command, so you do not need a local JDK or Maven:
docker compose -f docker/ignite-streaming-app.yaml up -d --build
The first build downloads the application's dependencies and takes a few minutes; later builds are faster. The --build flag rebuilds the image, so run the same command again after changing the application source.
The application joins the cluster as a client node, creates the Trade and Buyer tables, and begins streaming simulated trades.
The application streams for the number of minutes set by execTime in docker/ignite-streaming-app.yaml (150 by default), then stops. Change execTime to adjust how long it runs.
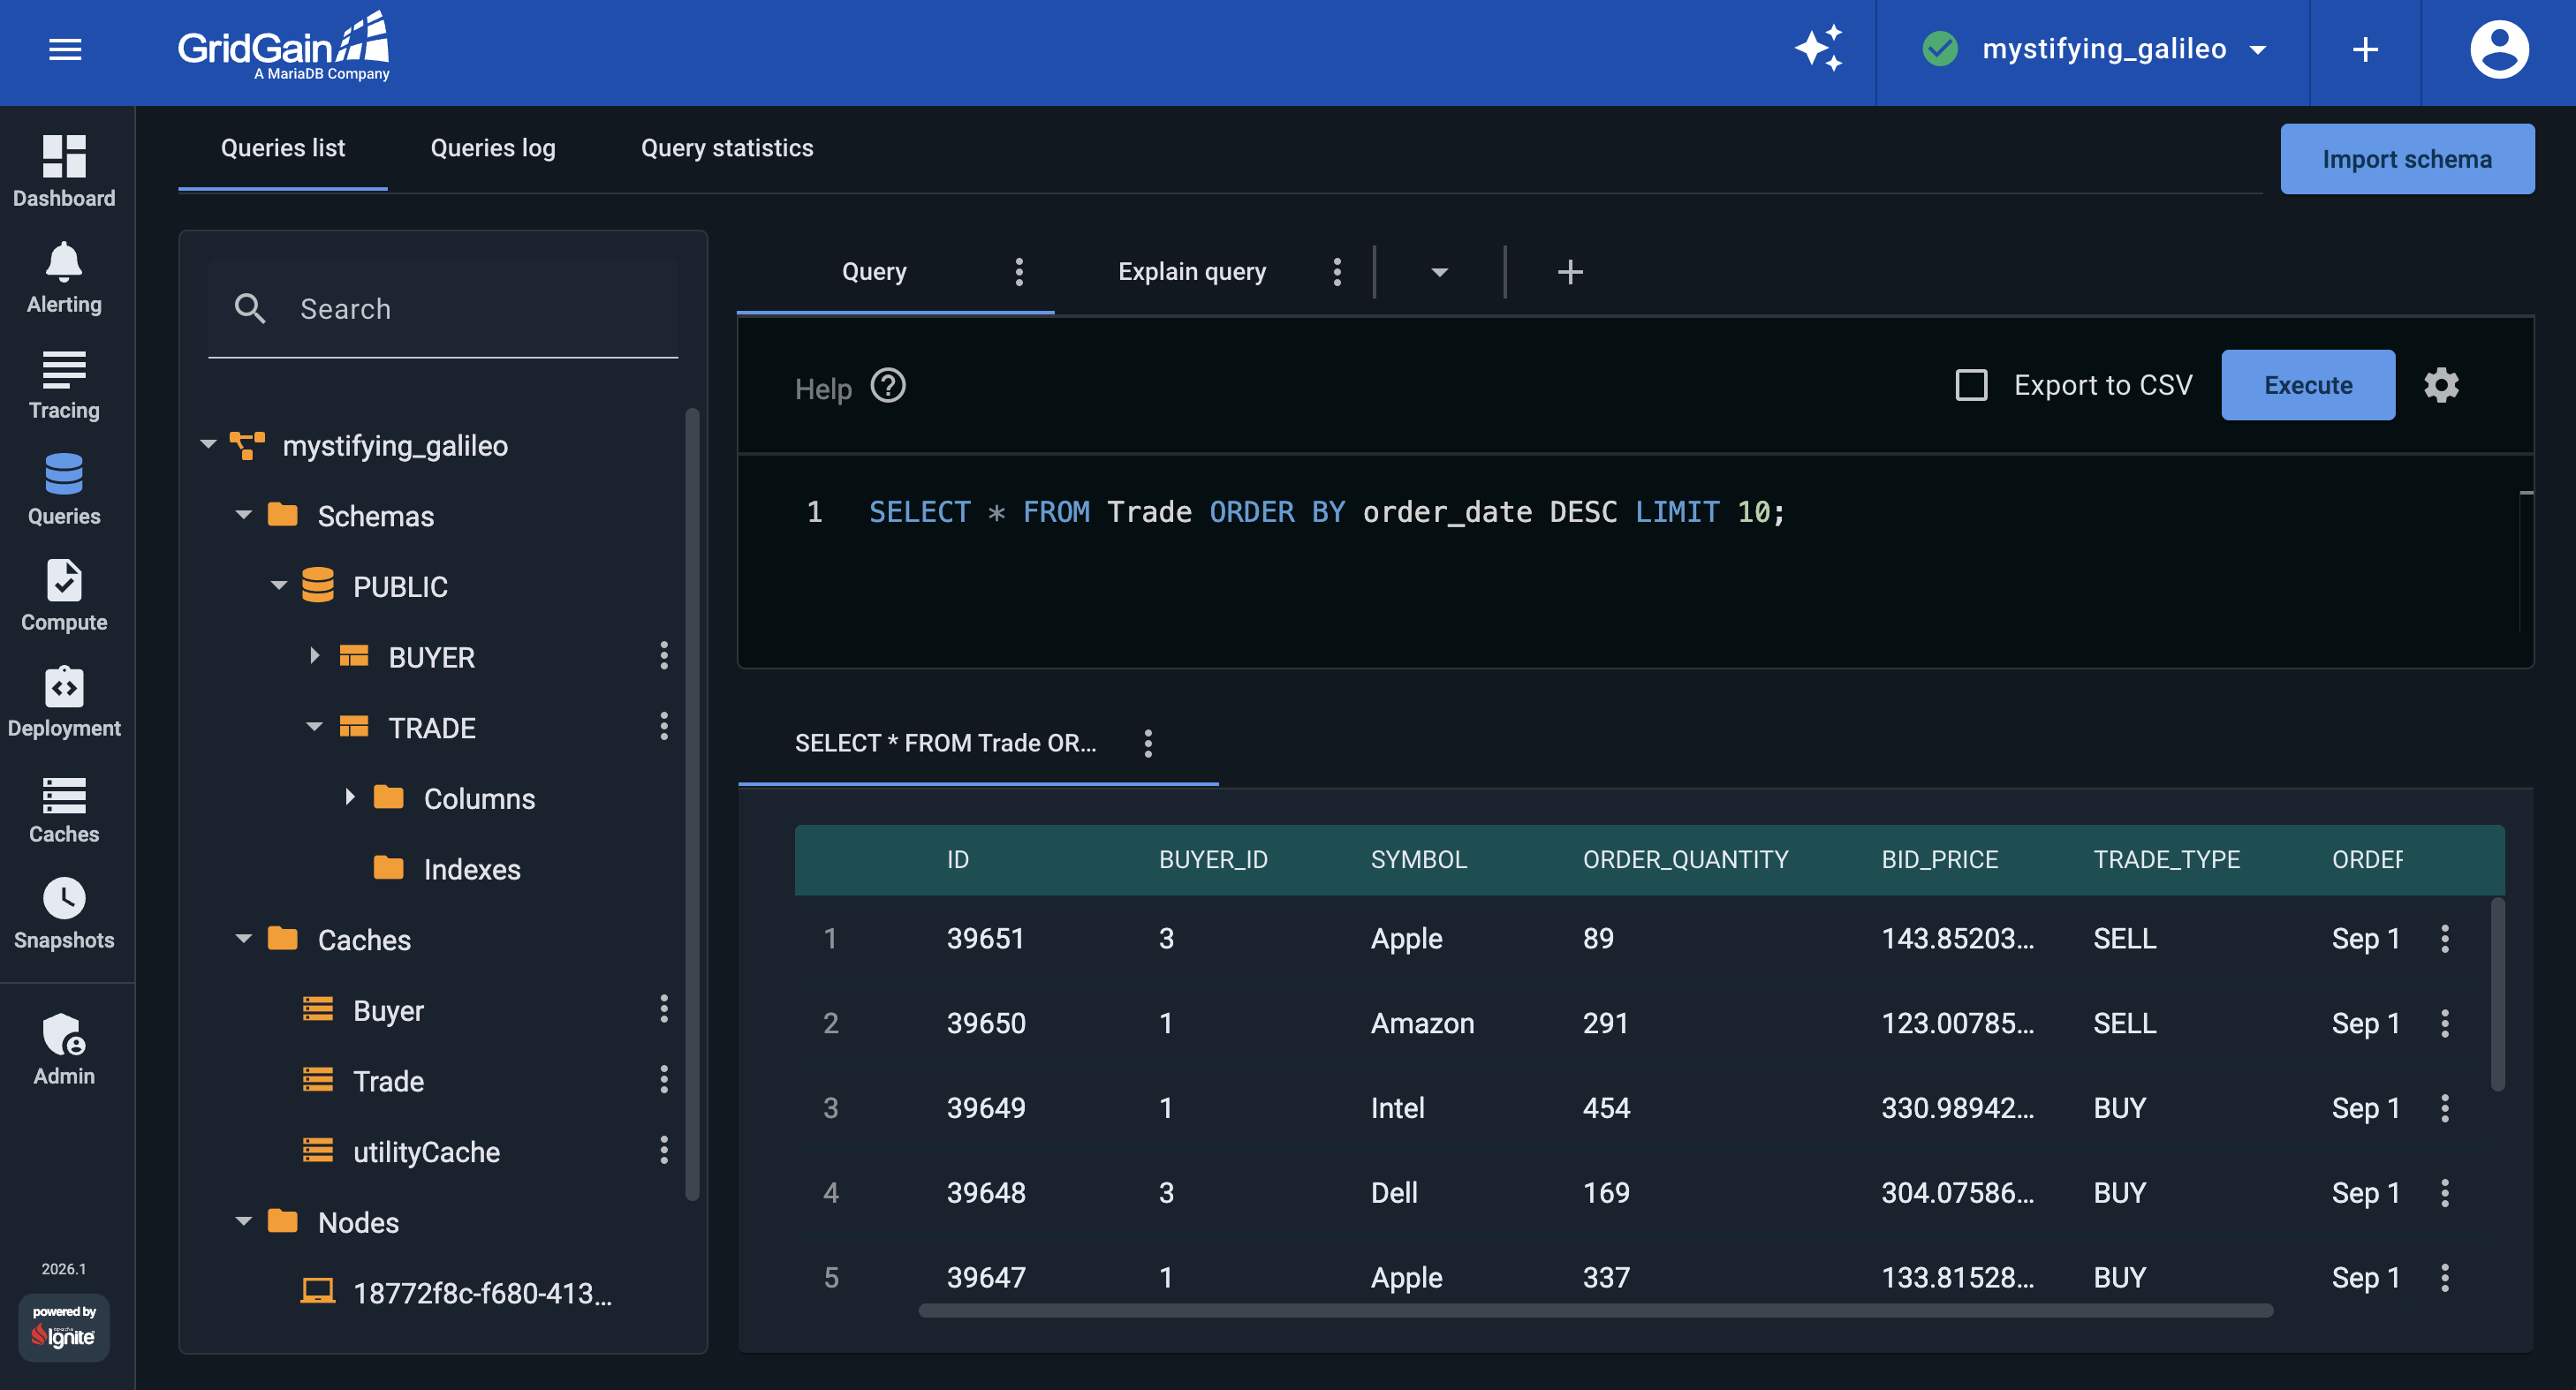
Finally, confirm that the application is streaming data into the cluster. Open the Control Center Queries screen and run the following queries:
-
Get the last 10 executed trades:
SELECT * FROM Trade ORDER BY order_date DESC LIMIT 10; -
Get the most popular stocks among the buyers:
SELECT symbol, SUM(bid_price) AS totalFROM TradeGROUP BY symbolORDER BY total DESC; -
Get a list of the buyers that completed the most transactions:
SELECT Buyer.id, first_name, last_name, SUM(bid_price) AS totalFROM TradeJOIN Buyer ON Trade.buyer_id = Buyer.idGROUP BY Buyer.idORDER BY total DESC;
If the application can't join the cluster
The application joins the cluster as a client node through node discovery. On Docker networks, multicast discovery is often unavailable, so the application is configured with the cluster nodes' static discovery addresses through the DISCOVERY_ADDRS environment variable in docker/ignite-streaming-app.yaml: the server container names and the discovery port (47500), for example docker-ignite-server-node-1:47500..47502,docker-ignite-server-node-2:47500..47502. The application and the cluster must also run the same GridGain version; a client built against a different minor version is rejected during discovery.
What's next
In the next part, you set up a Control Center dashboard that displays storage-related metrics: